CO2 vs UV Laser Marking: How to Choose for Acrylic and Plastic Parts
Tjxtmachine | Practical Application Guide | November 5, 2026
Introduction: The material decides the process
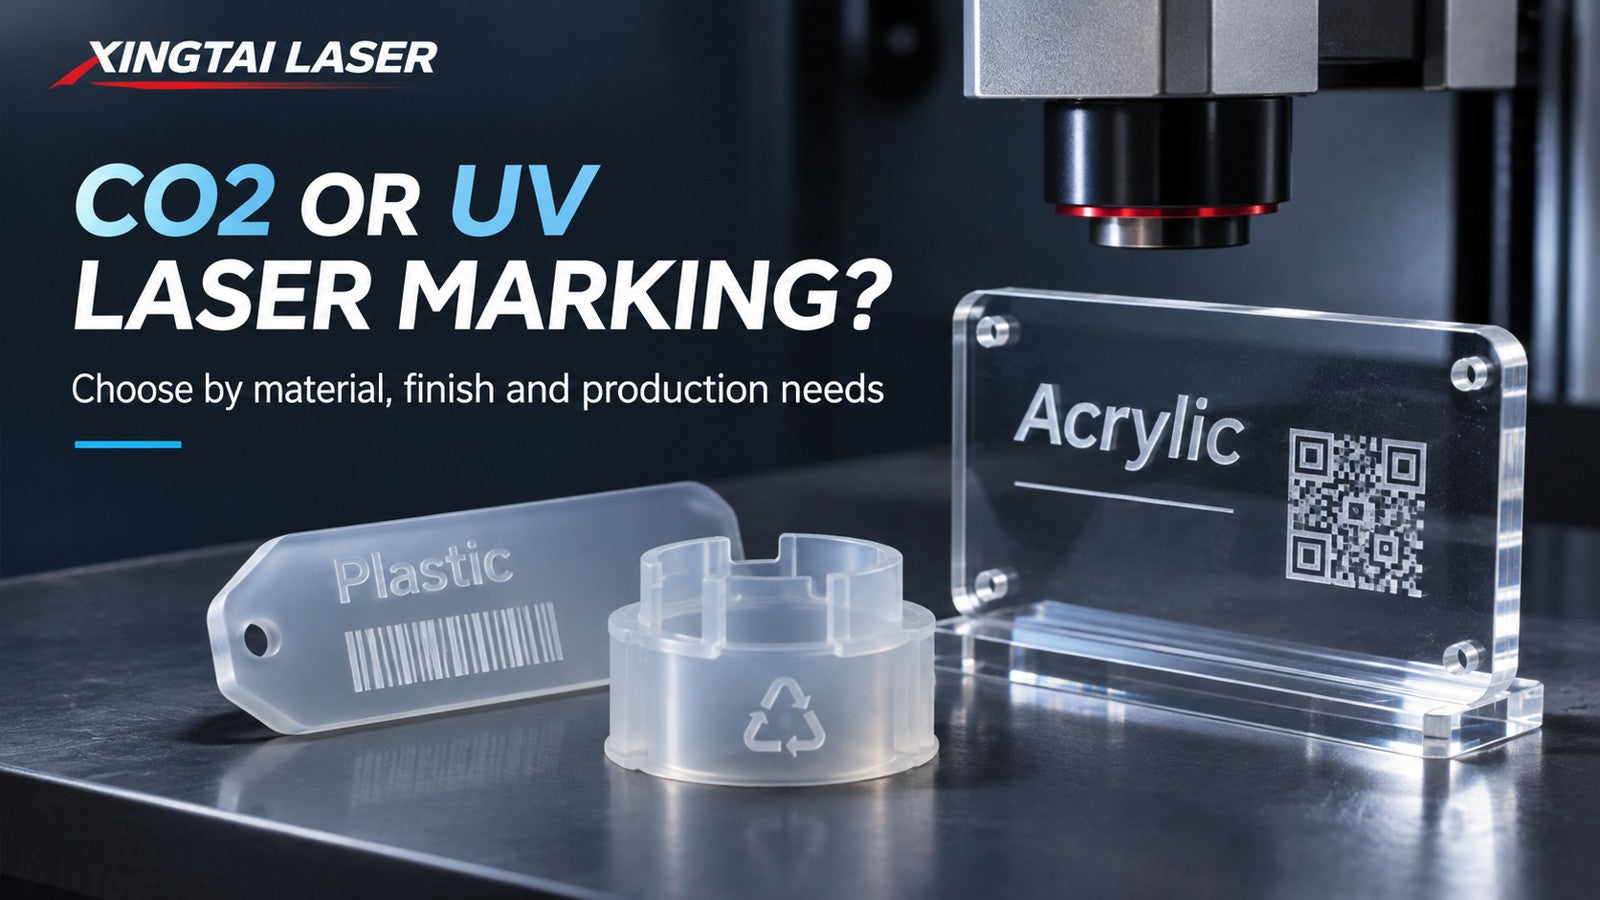
A customer may send a photograph of a beautifully marked acrylic panel and ask for the same result on a plastic housing. Both are nonmetallic parts, but they may respond very differently to laser energy. The polymer formulation, pigment, coating, thickness and required appearance all matter. This is why choosing between CO2 and ultraviolet (UV) laser marking should start with the actual workpiece rather than a wattage comparison. This article is a practical application guide, not a report of a newly announced machine. The following recommendations are engineering considerations that must be validated through customer samples.
1. Start with the exact material grade
Acrylic, ABS, polycarbonate, PET and other polymers are not interchangeable. Even two parts described as plastic can contain different additives, colorants or coatings. CO2 laser marking is often used on suitable nonmetallic materials, including acrylic, wood, leather and certain plastics. UV marking is worth testing where fine features or a more limited heat-affected appearance are required. Neither process can be guaranteed to produce a useful mark on every polymer. Ask the material supplier for the exact grade and relevant safety data before arranging a test. Never assume that an unidentified plastic is safe to laser process; some materials can release hazardous decomposition products.
2. Define the result before choosing the machine
Is the customer asking for a frosted logo, a high-contrast serial number, a fine date code, or a code that must be read by a scanner? These are different acceptance criteria. The marking method should be selected against the finished part's required contrast, edge definition, surface condition and readability.

A mark that looks attractive in a close-up photograph may fail in real lighting or after cleaning and handling. Write down the required mark size, minimum feature size, acceptable discoloration and inspection method before requesting quotations.
3. Understand where CO2 marking can fit
CO2 systems are established tools for many nonmetallic marking applications. For suitable acrylic, wood and leather work, they can provide practical engraving or marking effects. But different acrylic formulations and surface finishes can produce different results. CO2 energy may produce melting, foaming or other thermal changes on some plastics, so appearance and dimensional impact must be checked. Tjxtmachine's CO2 marking range includes 30W, 60W and 100W configurations; the 30W configuration is a common starting point for marking inquiries. These power options are not promises of specific speed, depth or compatibility. For cutting rather than marking, equipment type and work envelope must be assessed separately.
4. Understand when UV deserves a sample test
UV laser marking can be considered for small text, delicate details and certain plastics where visible thermal damage is a concern. Its interaction with a material differs from CO2 processing, but cold marking should not be interpreted as zero heat or zero risk. A UV laser may still change the surface, cause discoloration or damage an unsuitable material. Tjxtmachine's confirmed UV marking power options are 5W, 10W, 15W and 20W; there is no 3W model in the current range. The appropriate power and optical configuration depend on the real sample, mark area and production target.
5. Test finished parts, not just raw sheets
A raw acrylic sample may behave differently from a molded, coated, printed or assembled product. Surface curvature, molded texture and part orientation can affect focus and mark uniformity. Request tests on the actual finished product or a production-equivalent sample. Where a mark is intended for a visible consumer-facing surface, inspect it from normal viewing distance as well as under magnification. For a code, confirm that the customer's intended reader can read the sample under expected lighting. The best test is the one that reproduces the customer's actual material, finish and inspection conditions.

6. Compare production economics beyond machine price
Machine price alone rarely describes the cost per acceptable part. Consider fixture loading, positioning, changeover, marking cycle time, reject rate, maintenance and operator training. A process with a fast demonstration cycle may be slower in production if each part requires careful manual alignment. Likewise, a finer mark is not automatically more valuable if the customer needs only a simple visible identification. Compare approved samples and measured throughput under equivalent conditions, then calculate the cost per accepted part rather than relying on an advertised maximum speed.

7. Make safety and ventilation part of the decision
Laser processing of polymers can generate fumes, particles and potentially hazardous decomposition products. Proper material identification, extraction, filtration, guarding, protective measures and operator training are essential. Never process PVC or other chlorine-containing material without a competent hazard assessment and an appropriate, validated process; in many ordinary workshops it should be excluded from laser processing. The relevant machine safety requirements and local regulations must be checked for the installation. A clean-looking mark does not mean the process is safe.
A practical sample-testing checklist
Send the supplier the exact material grade, photographs, part dimensions, surface finish, artwork or code file, expected marking area, required contrast, estimated daily quantity and acceptance criteria. Request separate sample results when comparing CO2 and UV. Evaluate appearance, legibility, repeatability and evidence of unwanted surface changes. Record the sample settings and confirm the result again on a small production batch before committing to a large order. If the job includes both metal and nonmetal parts, discuss the complete material mix; UV may be a useful option for certain mixed-material marking requirements, but every substrate still needs verification.
Frequently asked questions
Can CO2 mark clear acrylic? Suitable acrylic can often be marked or engraved with CO2, but the exact visual result depends on formulation, surface and settings. Can UV mark all plastics? No. Compatibility and acceptable contrast must be demonstrated on the actual grade. Is higher laser power always better? No. Quality, throughput, feature size and material response must be balanced. Can one machine handle metal and plastic? Some UV applications can cover both categories, but a successful trial on each material is essential.
Conclusion
The most useful choice is not simply CO2 versus UV. It is the combination of material, required mark, sample quality, production economics and safety. For overseas buyers, a carefully documented sample test is a stronger basis for equipment selection than a generic application chart. Tjxtmachine can review representative parts and discuss suitable CO2 or UV configurations without claiming that one machine will work on every material.
Editorial note
This evergreen selection guide does not report a new product announcement. All suitability claims require testing on actual customer materials.